https://github.com/JheimisonFLX/bytebank

Estou com a mesma situação. Porém encontrei, por hora, uma maneira de continuar trabalhando com certa customização. Segueo código do materialApp:
void main() {
  runApp(const ByteBankApp());
}

class ByteBankApp extends StatelessWidget {
  const ByteBankApp({Key? key}) : super(key: key);

  // This widget is the root of your application.
  @override
  Widget build(BuildContext context) {
    return MaterialApp(
      theme: ThemeData(
        primarySwatch: Colors.green, // 0x234a20
        primaryColor: Colors.green,
      ),
      home: const ContactsList(),
    );
  }
}
Ao encontra uma solução, postarei no fórum. Se você achar, compartilha!
Busquei no fórum e o Instrutor Ricarth Lima respondeu essa questão anteriormente. Segue o codigo:
void main() {
  runApp(const ByteBankApp());
}

class ByteBankApp extends StatelessWidget {
  const ByteBankApp({Key? key}) : super(key: key);

  // This widget is the root of your application.
  @override
  Widget build(BuildContext context) {
    return MaterialApp(
      theme: ThemeData(
        appBarTheme: AppBarTheme(color: Colors.green[900]),
        primaryColor: Colors.green[900],
      ),
      home: Dashboard(),
    );
  }
}
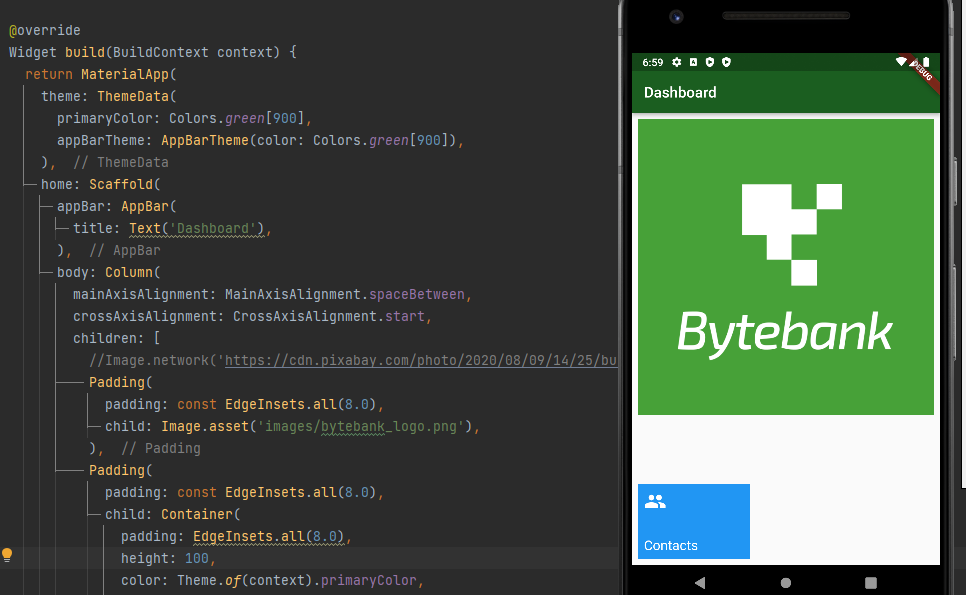
Entendi que é necessário declarar o appBarTheme e o primaryColor. Ainda não é uma solução completa, mas espero que ajude!
Aqui está o melhor resultado que achei até o momento:
void main() {
  runApp(const ByteBankApp());
}

class ByteBankApp extends StatelessWidget {
  const ByteBankApp({Key? key}) : super(key: key);

  // This widget is the root of your application.
  @override
  Widget build(BuildContext context) {
    return MaterialApp(
      theme: ThemeData(
         primaryColor: Colors.green[900],
         appBarTheme: AppBarTheme(color: Colors.green[900]),
         colorScheme: ColorScheme.fromSwatch().copyWith(secondary: Colors.green[900]),
      ),
      home: Dashboard(),
    );
  }
}
Créditos ao aluno: Matheus Soares de Oliveira.